Now that you have your website up and running, all you have to is blog!
If you’re already used to blogging and WordPress, this will be a breeze.
However, if this is your first time using WordPress and seeing the dashboard, it may be a little scary. Fear not! I swear it’s incredibly user-friendly, so much so that I will go so far as to say it is Ninja-friendly.
This particular Ninja (yours truly) is an absolute non-techy. I know nothing about programming or coding or design or all that other nonsense. And have no interest in learning! I just want to write and play with my kids.
Here’s a quick guide on how to add your content on to your new blog.
Whenever you want to log in to your dashboard (you have to be logged in, in order to blog), just type your domain name followed by /wp-admin in the address bar of your browser.
Example: I type www.ninjahousewife.com/wp-admin to log in to this blog.
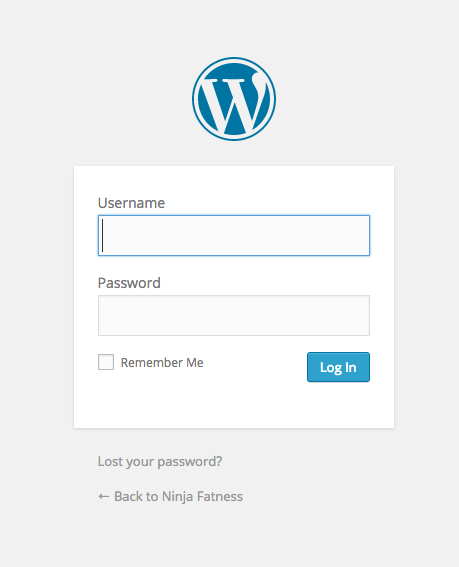
Once you’re in your dashboard, then you can start blogging!
1. CREATING A PAGE
A page is static content that stays in the same position regardless of how often you update your website. Their location depends on the theme you chose, but most of the time will be located at the top navigation bar of your blog.
For this blog, you can see my pages are “About,” “Books,” “Resources” and “Contact.”
The pages on your blog are totally up to you.
For example, if you have a food blog, a page you may want to add could be “Recipes.”
To create a page, go to your dashboard and click on “Pages” then “Add New.”
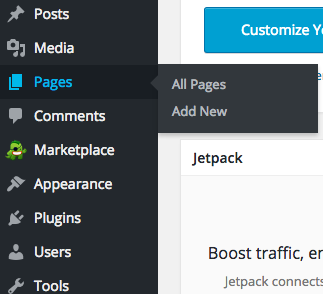
You’ll then be taken to this page:
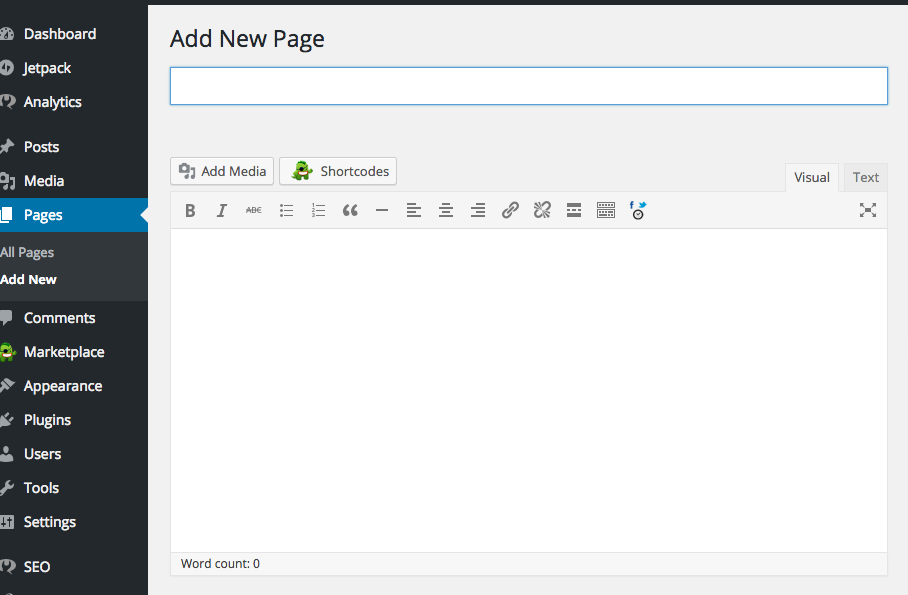
All you have to do now is start writing!
Add your title e.g. About
Then add your content e.g. The Ninja Housewife is about me, me and me.
Once you’re done, you want to change your “Page Attributes” located on the right hand side of the page:
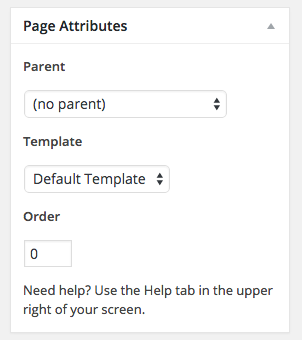
In the case of my “About” page, I select (no parent) as I want it to show on the navigation bar as is. With the other pages such as “Meet the Ninja” I want that to show as a drop down from the main “About” page, so I select “About” as the parent.
“Order” gives you the power to choose the order that your pages are shown. Because I want my “About” page to be first, I put its order number as 1.
The next page on my navigation bar is “Books” so I simply put its order number as 2.
Easy right?
When you’re happy with your page (don’t worry, you can always go back and edit it later if you’re not!) then click the blue “Publish” button on the right.
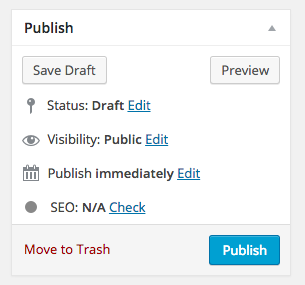
You can always play around with the settings such as saving as a draft, making the page private so nobody can see it but you, and publishing at an earlier or later date.
But that’s it! Your page will be up on your blog 🙂
2. CREATING A POST
Posts will make up your blog content. This is what you will be updating on a consistent basis. You latest post will always show up on your homepage, and push down the previous post.
On the homepage of Ninja Housewife, you’ll see a bunch of articles. These are posts.
To create a post, go to your dashboard and click on “Posts” then “Add New.”
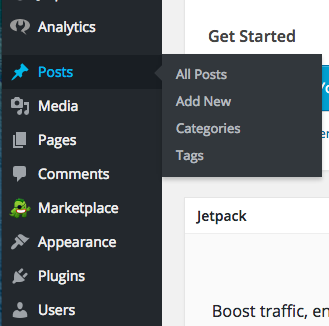
You’ll see this page (which looks exactly the same as your “Add New Page” page):
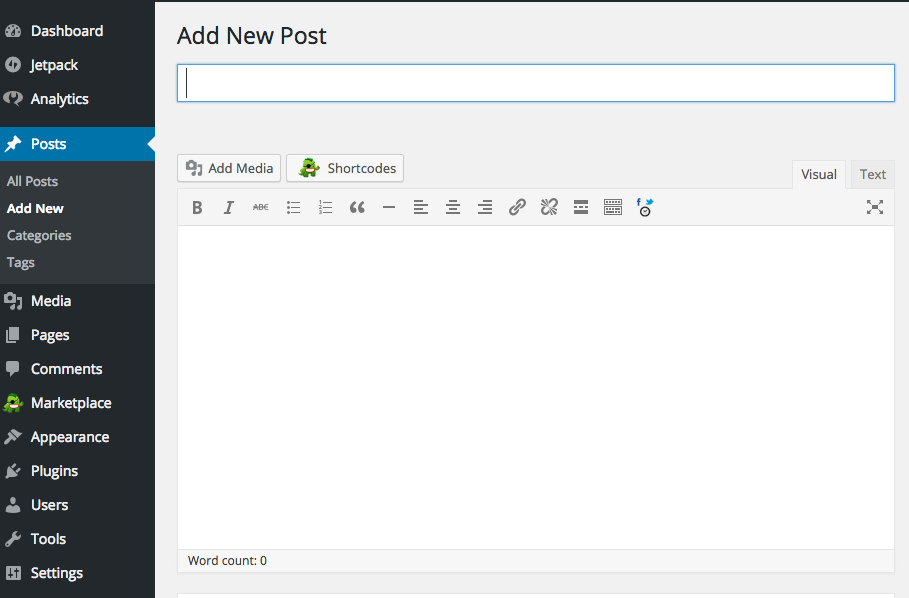
Now just as you did with your Page, just write your title and add your content!
The only difference is that instead of having a “Page Attributes” box on the right, you’ll have a “Categories” box.
This is a simple way to organize your posts. And it makes life much easier for your readers if they are trying to find information about a specific topic.
Here you can see the “Categories” I created for this blog:
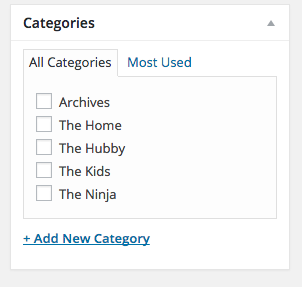
So if I write a blog post about the Hubby, I’ll just click on “The Hubby” category and it will automatically be stored along with other “The Hubby” posts.
To add a new category, just click on the blue +Add New Category link.
Once you’re done, click the “Publish” button at the top right, just like you did with your Page, and that’s it!
Really, that’s it. That is all there is to creating a blog!
The tricky part comes in making money from a blog…
There are tons of resources you can use online if you want to do your own research. Or if you’d like to continue learning from me, then by all means, let’s get to it!
Back: Customize Your Website | Next: Make Money Blogging!
